We know home theater - 26th Anniversary
Questions? CALL TOLL FREE 1-888-764-9273


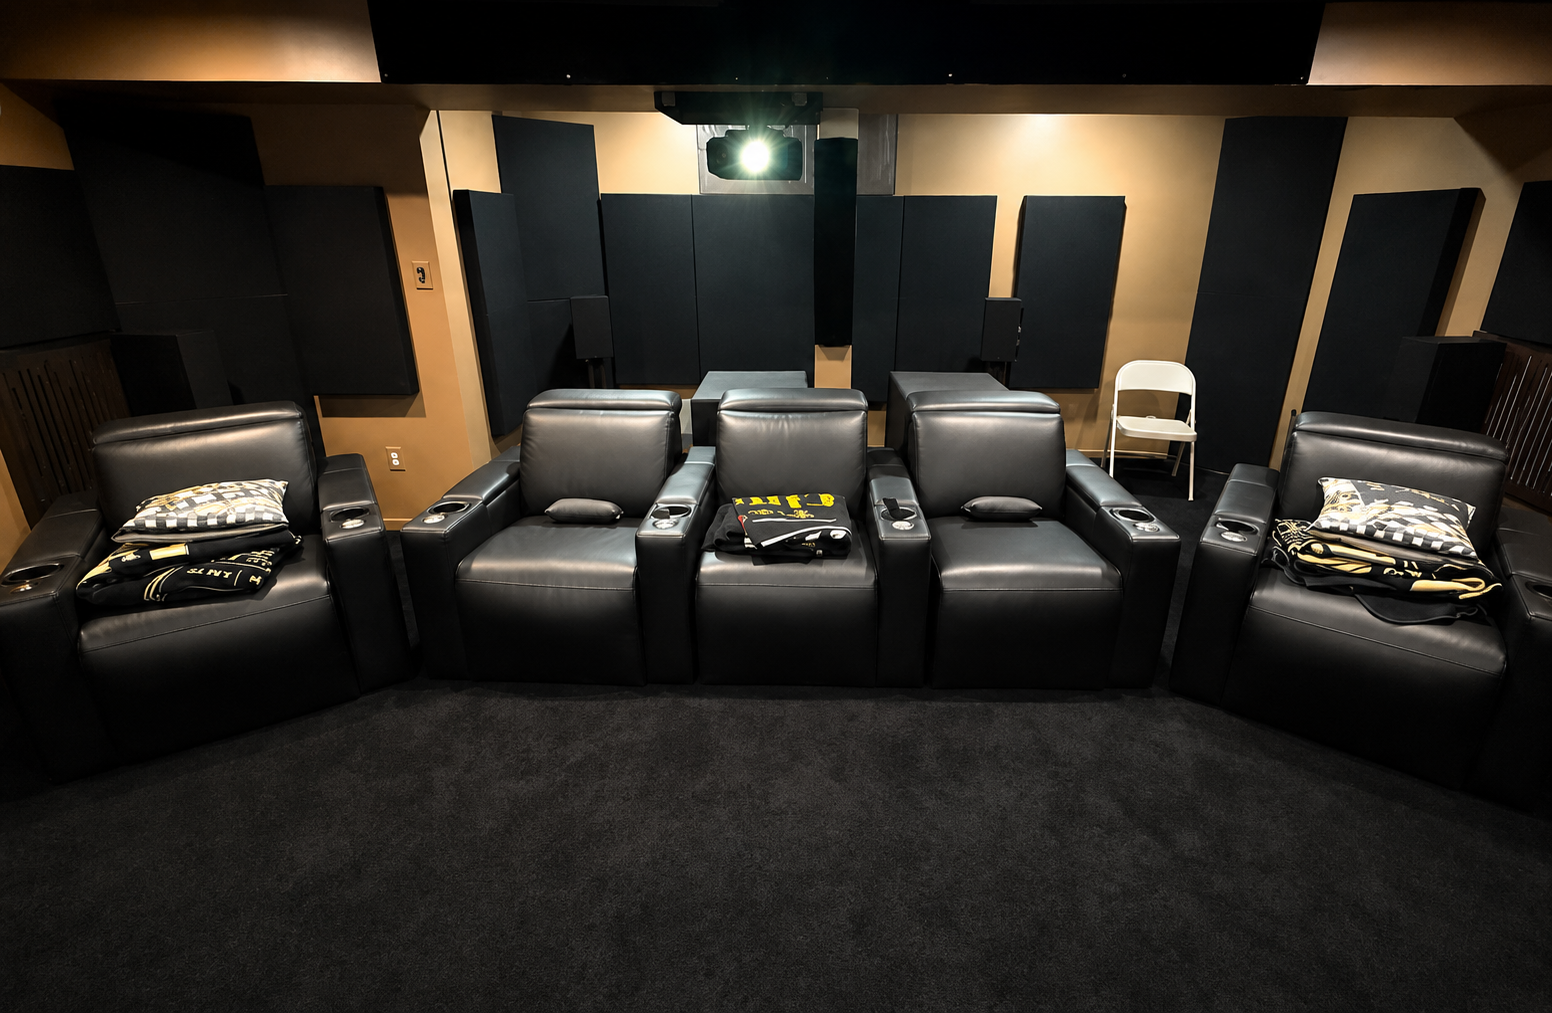
A dedicated home theater with acoustic panels positioned across the side and rear walls to control reflections around the seating area.
Acoustic panels are most effective when they are placed where unwanted sound reflections occur. Randomly covering open wall space may reduce some echo, but a planned layout can produce a much more noticeable improvement in dialogue, imaging, and overall sound quality.
The objective is not necessarily to cover every wall or eliminate all natural room ambience. Proper acoustic panel placement targets the strongest reflection areas while maintaining a balanced and comfortable listening environment.
Some dedicated theater projects intentionally use much greater coverage, including complete treatment of all usable wall area. This guide explains both partial-treatment layouts and full usable-wall treatment so you can plan the room according to its construction, performance goals, and design.
The theater shown above demonstrates several practical acoustic panel placement techniques that can be adapted to rooms of different sizes.
Vertical panels provide broad coverage through the seated listening area and help control strong side-wall reflections.
Multiple panels behind the seating reduce reflections returning toward listeners from the rear of the room.
Panels are fitted around speakers, electrical outlets, columns, railings, and other room features.
Treatment across both sides of the room helps preserve stereo symmetry and accurate surround imaging.
Sound from a speaker reaches the listener in two primary ways. The first is direct sound traveling in a straight path from the speaker to the seating position. The second is reflected sound that bounces from walls, ceilings, floors, doors, windows, and other hard surfaces.
Reflected sound arrives shortly after the direct sound. When these signals overlap, dialogue can become less distinct, music can lose detail, and surround effects can appear less accurately positioned.
Acoustic panels absorb part of this reflected energy before it returns to the listener. The greatest improvement normally comes from treating the areas responsible for the strongest and earliest reflections.
Good acoustic treatment is strategic. A smaller number of correctly positioned panels can be more effective than a larger number placed without considering speaker and seating locations.
First reflection points are the wall or ceiling locations where sound from the front speakers first reflects before reaching the main listening position. These are often the highest-priority areas for acoustic treatment.
Treating the first reflection points can improve the apparent width and precision of the front soundstage. It can also reduce the hollow or blurred quality that often occurs in rooms with untreated drywall.
A common way to identify side-wall reflection points is the mirror method:
The mirror method is a practical starting point. Larger seating areas may require wider treatment zones because each seat has a slightly different reflection path.
Side walls are generally the first areas to evaluate because they create strong early reflections from the left, center, and right front speakers.
Position panels at the first reflection points between the front speakers and the main seating position.
Center the most useful portion of the panel around seated ear height rather than mounting every panel near the ceiling.
Use reasonably symmetrical treatment on opposite side walls to preserve a stable front soundstage.
Longer treatment areas may be appropriate when several rows must receive similar acoustic benefits.
Tall vertical panels are often effective because they cover a broad area while fitting naturally between columns, sconces, speakers, and decorative wall features. Horizontal panels can also work when wall height is limited or when a continuous visual line is preferred.
The rear wall can produce strong reflections that travel back toward the seating area. This is especially important when the last row of seats is close to the wall.
Rear-wall treatment can help reduce slap echo, improve dialogue intelligibility, and prevent surround effects from becoming overly bright or confused.
Panels may be distributed across the rear wall rather than concentrated in one small area. Custom sizes can help fit panels around surround speakers, equipment doors, outlets, railings, platforms, or decorative architectural details.
The front wall includes the area around the projection screen or television and behind the main speakers. Treatment requirements vary depending on the type of display and speaker configuration.
Front-wall treatment is only one part of the acoustic plan. It should be coordinated with side-wall reflection control, seating location, speaker placement, and subwoofer optimization.
The ceiling is a large reflective surface that is sometimes overlooked. A ceiling-mounted acoustic panel arrangement, often called an acoustic cloud, can reduce overhead reflections between the front speakers and seating area.
Ceiling treatment must be planned carefully around:
Do not cover or obstruct ceiling speakers, projector ventilation, lighting fixtures, vents, or required safety equipment. Ceiling installation also requires secure mounting appropriate for the panel weight and ceiling structure.
Dolby Atmos consideration: Ceiling treatment should control unwanted reflections without blocking the direct path from overhead speakers to the listening area.
Real home theaters rarely have four uninterrupted walls. Doors, windows, columns, light fixtures, speakers, electrical devices, and decorative trim all affect the available panel layout.
Keep panels clear of handles, hinges, trim, switches, and the full swing path of the door.
Use panels on adjacent wall areas or combine acoustic treatment with substantial theater drapes.
Narrow custom panels can fit between columns or integrate with the architectural rhythm of the room.
Coordinate panel height with soffits, crown molding, lighting, and ceiling transitions.
HT Design Acoustic Panels can be built in custom sizes up to 48 inches by 48 inches. This makes it possible to use the available wall area more efficiently instead of limiting the room to only a few fixed panel dimensions.
Panel placement and overall coverage should be considered together. Treating the correct locations is important, but the room must also have enough absorption to produce a meaningful improvement.
The following coverage levels are general planning options rather than fixed acoustic specifications:
A starting range for furnished rooms with carpet, drapes, upholstered seating, and other soft surfaces.
A practical planning range for many media rooms and dedicated home theaters.
May suit larger or highly reflective dedicated theaters when placement is carefully planned.
Covers all available wall area after subtracting the screen, doors, windows, columns, speakers, and other exclusions.
Important: A 100% selection is mainly useful for fully treated rooms, fabric-track systems, exposed fiberglass installations, or projects where nearly every usable wall surface is intentionally covered. It is not automatically the correct treatment level for every home theater.
Coverage percentages refer to the usable wall area remaining after exclusions. Room construction, furnishings, speaker locations, panel thickness, bass control, listening goals, and professional acoustic measurements can change the appropriate treatment level.
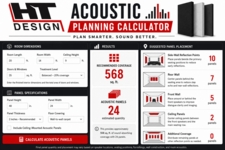
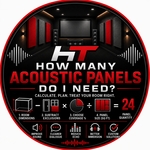
Enter your room dimensions, subtract the projection screen, doors, windows, columns, speakers, and other exclusions, then select any treatment level from partial coverage through 100% of the usable wall area.
Open the Acoustic Planning CalculatorOne hundred percent treatment means covering all usable wall area after subtracting the viewing screen, doors, windows, speakers, columns, electrical equipment, and other openings. It does not mean physically covering every square inch of the room.
This approach may be appropriate for highly specialized theater designs where acoustic materials are integrated into nearly the entire wall system. It can also be used as a planning maximum when comparing panel quantities and custom sizes.
Acoustic material may be installed behind stretch fabric across large sections of the walls.
Dedicated rooms may be designed from the beginning with extensive hidden acoustic treatment.
A 100% calculation shows the maximum panel area that could fit after all exclusions are removed.
Custom-size panels can be arranged to create a nearly continuous finished-wall appearance.
Full usable-wall treatment should still be designed carefully. A room can become excessively absorptive if every surface is covered with the same type and thickness of material. Complete treatment systems may combine absorption, reflective surfaces, air gaps, bass control, and diffusion to achieve the intended acoustic result.
Filling empty wall space without considering speakers and seating may miss the strongest reflection points.
Uneven left and right treatment can interfere with stereo balance and front soundstage imaging.
A bare rear wall can create strong reflections, particularly when seating is close to it.
Covering nearly every surface with the same absorptive material can make the theater sound unnaturally dull.
Panels should not obstruct the direct sound path from surround, Atmos, or front speakers.
Lightweight decorative foam generally does not provide the same appearance or broad absorption as fiberglass panels.
Continue planning your acoustic treatment with these HTmarket guides, tools, fabric galleries, and product pages.
Side-wall first reflection points are often the highest-priority locations, followed by the rear wall and other strong reflection areas.
The useful treatment area should generally include seated ear height, especially when controlling side-wall reflections around the listening position.
Reasonably balanced treatment on the left and right walls helps preserve stable stereo imaging. Exact symmetry may not be possible in every room.
Rear-wall treatment is often beneficial, particularly when seating is close to the back wall or when the room produces noticeable rear-wall reflections.
Treatment behind an acoustically transparent screen may be useful, but it must be planned around speaker placement, screen-wall design, and the type of material used.
They should not when correctly positioned. Panels must remain clear of Atmos speakers and should not block the direct sound path to the seating area.
Yes. Panels can be installed on adjacent wall areas, while substantial theater drapes may also help control reflections from the glass.
Yes. Combining sizes can help fit treatment around columns, doors, windows, speakers, outlets, and other architectural features.
Yes. Excessive absorption can make a room sound dull. The goal is balanced reflection control unless the room has been specifically designed for full-wall treatment.
It means covering all usable wall area remaining after subtracting the screen, doors, windows, speakers, columns, equipment, and other exclusions.
No. It is an option for specialized fully treated rooms and maximum-coverage planning. Many home theaters perform well with a carefully designed partial-coverage layout.
No. Acoustic panels improve sound inside the theater. Soundproofing requires specialized construction that reduces sound transmission through the room structure.
Calculate your available wall space, subtract doors, windows, screens, speakers, and columns, then choose any treatment level from partial coverage through 100% of the usable wall area.